Putting Green Installation
Total Service Installation
Tour Greens Minnesota are golf specialists with extensive experience installing the ultimate backyard putting green systems. Our installation teams are polite and professional and we arrive to each job site prepared to construct your putting green to your exact specifications, and to make adjustments based on site conditions and your input. After the job is complete, we’ll review every detail of the product with you to ensure satisfaction.
We’ll also instruct you or your landscape specialist on how to properly maintain your facility to ensure the best performance for the life of the green. That’s Tour Greens Total Service.
Putting Green Installation
One of the greatest advantages to buying a Tour Greens putting green is that you benefit from our team’s years of experience in designing and installing “Tour Quality” putting greens.
Each putting green that we install is designed to fit its particular site and satisfy your specifications. The installation process is an exact one that results in a satisfied customer every time. The following slide show takes you step-by-step through this process.
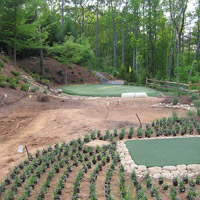
 Space Evaluation
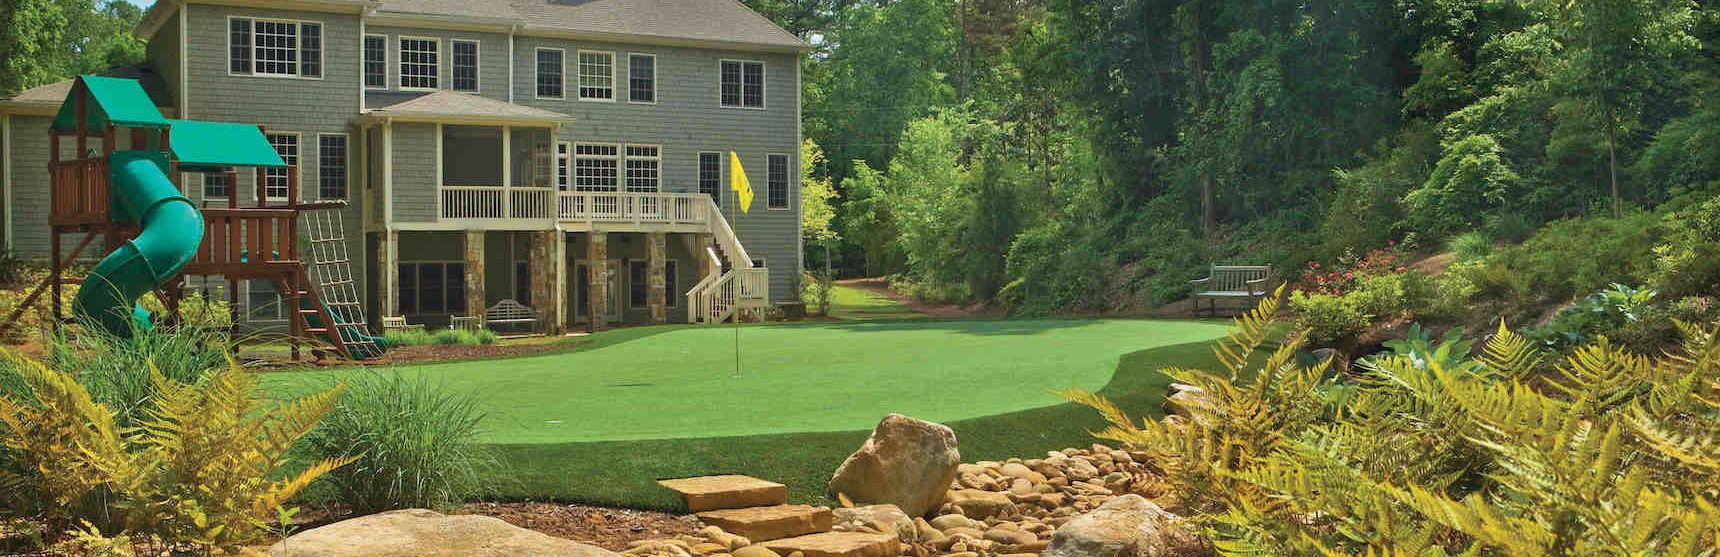
Prior to starting the installation process, we evaluate the area and develop a design that utilizes the space as effectively as possible. While many of the images in this presentation are taken from other job sites, the final image shows how we transformed this particular area.

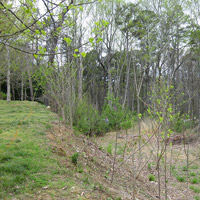
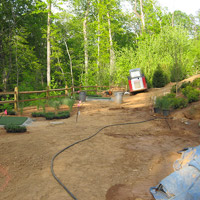
Large Excavation
The first step in the installation process is the excavation of the land. For some backyard greens, this may be as simple as cutting out sod, but others require trees to be cleared, retaining walls to be built and land to be completely transformed.
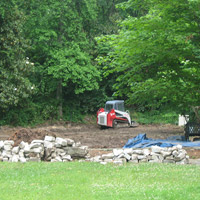 Typical Excavation
Standard excavations are typically done with loaders that operate quickly and cause minimal damage to the existing surroundings.
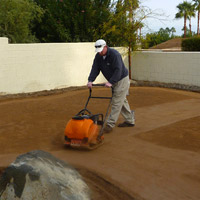 Compacting Soil
Once the land has been cleared, workers prepare the soil base with a compacting machine. Some contours and undulations are built into the green at this time. After the soil is compacted, a geotextile sheet is placed over the area to provide stability and integrity to the green.
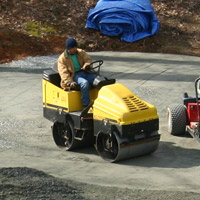 Compacting Base
Once the soil layer is compacted and the Geotextile is installed, we add a two-layer base of compacted crushed stone and stone dust. During this process, we can build in additional shapes and contours to the green.
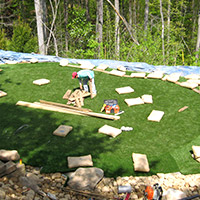 Laying the Turf
Once the base is prepared, the synthetic turf is laid and cut to the specifications of the design.
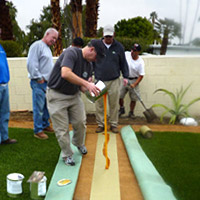 Applying Glue
Synthetic turf is manufactured and delivered in long rolls similar to carpeting. For larger greens, and those with fringe, the different sections of turf are glued to the base for added stability.
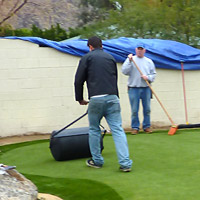
 Adding Infill
With the turf installed, workers will now apply the RQS-2000 infill that will help give the green its soft feel and ensure that it remains solidly in place.
 Brushing Infill
After the Infill is applied, workers blend these into the turf with both traditional and specialized power brooms. This causes the fibers to stand upright, relax and blossom.
 Top Dressing
After the RQS Infill is brushed in, we then add the RQS Top Dressing. This blend of colored acrylic coated quartz is brushed in to give your green the deep rich luster that only Tour Greens has.
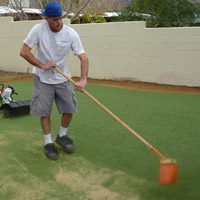
 Rolling the Green
The last step in the process is rolling the green so that we can adjust the speed to your desired level. Once we complete this step, we clean up and let you start practicing.
 Excavating Fairway/Build Hitting Area
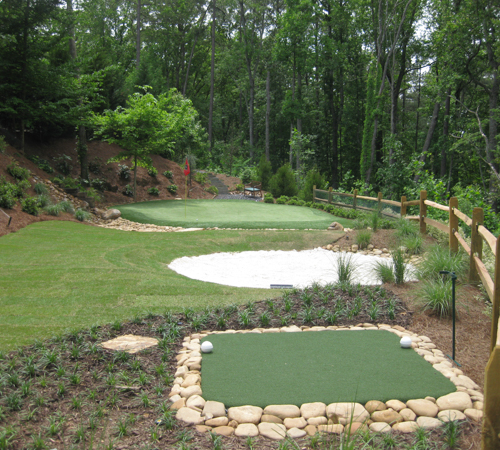
Of course, if you have tee boxes or other features in your design, we are probably working on these at the same time that we are installing the green. Shown here is a hitting area with multiple tee boxes and a sand trap.
 Sand Trap
Bunkers are added to make for a more enjoyable and useful practice area.
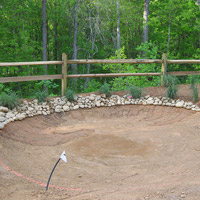
 Landscaping
It is not uncommon that the installation of a backyard golf green is combined with a major landscaping project.